
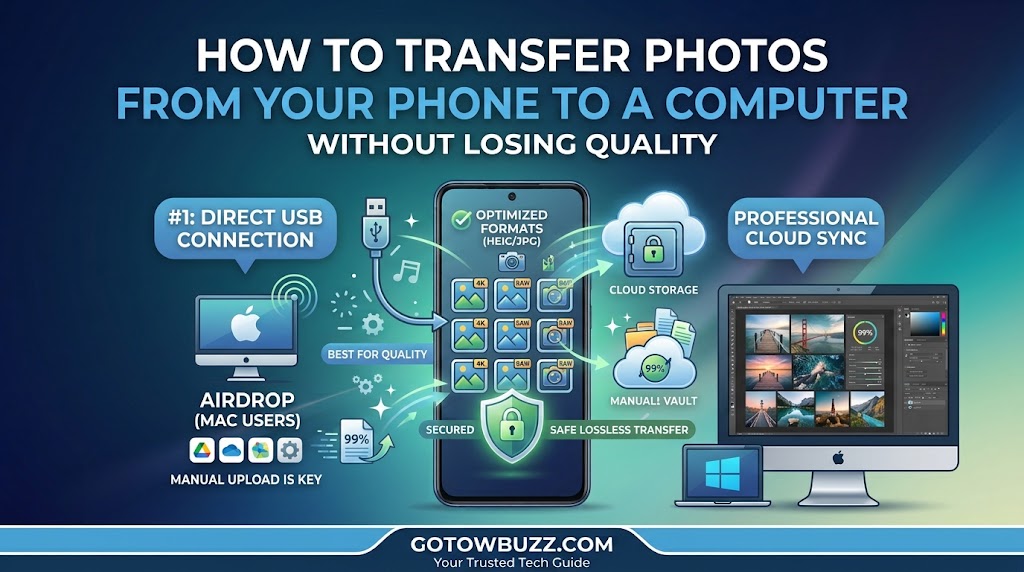
Smartphones now take incredible high-resolution photos and 4K videos, but moving those memories to your computer isn’t always as simple as sending them over an app. If you have ever emailed photos to yourself, sent them over WhatsApp, or downloaded them from social media, you might have noticed the files looked grainy, lost their sharpness, or saw their file sizes shrink from 10 MB down to a few hundred kilobytes.
Messaging apps, social networks, and standard cloud settings automatically compress images to save bandwidth. Compression strips fine detail, discards color profile information, and reduces original image dimensions.
If you are preserving family memories, backing up photography, or transferring files for editing, keeping the original uncompressed quality matters. This guide covers safe, step-by-step methods to transfer full-resolution photos and raw media files from Android or iPhone to your PC or Mac without losing a single pixel of quality.
Why Media Compression Happens (And How to Avoid It)
Before moving your photos, it helps to understand why quality gets lost in transit:
-
Messaging Apps: Apps like WhatsApp, Messenger, and standard SMS automatically re-encode photos into lower-resolution JPEG files to save server space and cellular data.
-
Email Clients: Sending photos as standard embedded images often downsamples large files so they stay under email attachment limits.
-
Automatic Cloud Downscaling: Cloud platforms often default to “Storage Saver” or “Optimized” modes to conserve cloud quota unless configured specifically to save original files.
To retain maximum quality, you must use direct physical connections, lossless wireless protocols (like AirDrop or Nearby Share/Quick Share), or full-resolution cloud backups.
1. Direct USB Cable Transfer (Android to Windows PC)
A direct USB cable connection is the fastest and most reliable method to transfer raw, uncompressed photos from an Android phone to a Windows computer. It treats your phone like an external flash drive, giving you direct access to the original camera files.
Step-by-Step Instructions
-
Connect your Android phone to your PC using a compatible USB data cable.
-
Unlock your phone. Swipe down from the top of the screen to open the notification panel.
-
Tap the notification that says Charging this device via USB (or USB Preferences).
-
Select File Transfer (or MTP / Transferring files).
+-------------------------------------------------------+
|  < USB Preferences                                    |
+-------------------------------------------------------+
|  USB controlled by                                    |
|  (•) This device                                      |
|  ( ) Connected device                                 |
|                                                       |
|  Use USB for                                          |
|  (•) File transfer / Android Auto  <-- [SELECT THIS]  |
|  ( ) USB tethering                                    |
|  ( ) MIDI                                             |
|  ( ) PTP (Picture Transfer)                           |
|  ( ) No data transfer (Charge only)                   |
+-------------------------------------------------------+
[Visual Guide 1: Android USB Preferences selection menu]
Visual purpose: Highlight the “File transfer” option inside Android USB preferences to grant storage access.
Caption: Select File transfer in USB preferences so your computer can read the original photo files.
-
Open File Explorer on your Windows PC (or press Windows Key + E).
-
Click your phone’s name under This PC on the left menu.
-
Double-click Internal Storage > DCIM > Camera.
-
Select the photos you want, copy them (Ctrl + C), and paste them (Ctrl + V) into a folder on your computer.
Tip: Original camera photos are stored in the DCIM (Digital Camera Images) folder. Photos downloaded from the web or messaging apps live in separate folders like Pictures or Download.
2. USB Transfer (iPhone to Windows PC or Mac)
Importing iPhone photos over a cable preserves full image resolution along with EXIF metadata (date, time, location, camera settings).
Transferring iPhone Photos to a Windows PC
-
Connect your iPhone to your PC using a Lightning or USB-C cable.
-
Unlock your iPhone. If a pop-up asks Trust This Computer?, tap Trust and enter your passcode.
-
Open File Explorer on Windows and click Apple iPhone under This PC.
-
Open Internal Storage > DCIM > 100APPLE (or subfolders like 101APPLE).
-
Drag and drop the original files directly to your computer.
+-------------------------------------------------------+
|  Trust This Computer?                                 |
|                                                       |
|  Your settings and data will be accessible from this  |
|  computer when connected wirelessly or using a cable. |
|                                                       |
|   +--------------------+     +--------------------+   |
|   |     Don't Trust    |     |    Trust [TAP]     |   |
|   +--------------------+     +--------------------+   |
+-------------------------------------------------------+
[Visual Guide 2: iPhone Trust This Computer prompt]
Visual purpose: Show the iOS Trust This Computer prompt window required to reveal internal storage.
Caption: Tap Trust on your iPhone screen so your computer can view photos without blocking access.
Transferring iPhone Photos to a Mac
-
Connect your iPhone to your Mac with a cable.
-
Open the built-in Image Capture app (located in your Mac’s Applications folder) or open the Photos app.
-
Select your iPhone under Devices on the left sidebar.
-
Choose an import destination folder at the bottom of the window (e.g., Desktop or Pictures).
-
Select specific photos and click Download All (or Import Selected).
3. Lossless Wireless Transfers (AirDrop & Quick Share)
If you don’t have a cable nearby, native peer-to-peer wireless transfer protocols move files directly over local Wi-Fi and Bluetooth without uploading them to internet servers or applying compression.
iPhone to Mac (AirDrop)
-
Ensure Wi-Fi and Bluetooth are turned on for both your iPhone and Mac.
-
Open the Photos app on your iPhone and select the images you want to transfer.
-
Tap the Share button (the box with an upward arrow).
-
Tap Options at the top of the screen and toggle ON All Photos Data (this preserves original RAW files, Live Photo components, and edit history).
-
Tap AirDrop and select your Mac. The full-resolution files will land in your Mac’s Downloads folder instantly.
+-------------------------------------------------------+
|  < Options                                            |
+-------------------------------------------------------+
|  Include                                              |
|                                                       |
|  All Photos Data                                [ON]  |
|  Includes full image quality, editing history, and    |
|  location metadata for original file transfer.        |
|                                                       |
|  Format                                               |
|  (•) Automatic                                        |
|  ( ) Current                                          |
+-------------------------------------------------------+
[Visual Guide 3: iOS Photos share options menu]
Visual purpose: Display the iOS share menu options screen highlighting the “All Photos Data” toggle switch.
Caption: Toggle on “All Photos Data” in AirDrop options to preserve original RAW capture data and full EXIF information.
Android to Windows / Mac (Quick Share)
Google’s Quick Share (formerly Nearby Share) allows high-speed lossless wireless transfer between Android devices and Windows PCs.
-
Download and install Quick Share for Windows from the official Android website onto your PC.
-
Turn on Wi-Fi and Bluetooth on both your phone and computer.
-
On your Android phone, select photos in your gallery, tap Share, and choose Quick Share.
-
Tap your PC’s name from the list of available devices to send the original, uncompressed files directly.
4. Full-Quality Cloud Backups (Google Photos & iCloud)
Cloud services make transferring easy, but you must confirm your backup quality settings are set to store original file sizes.
Google Photos (Android & iPhone)
By default, Google Photos may compress uploads if set to “Storage Saver.” Switch to Original Quality to maintain full resolution:
-
Open Google Photos on your phone.
-
Tap your profile icon in the top-right corner and select Photos settings.
-
Tap Backup > Backup quality.
-
Select Original quality (stores photos with no change to resolution or compression).
-
On your computer, open a web browser, go to
photos.google.com, log in, select your photos, and press Shift + D to download the original uncompressed files.
+-------------------------------------------------------+
|  < Backup quality                                     |
+-------------------------------------------------------+
|  Choose upload size for photos and videos             |
|                                                       |
|  (•) Original quality       <-- [NO COMPRESSION]      |
|      Store photos & videos with no change to quality. |
|                                                       |
|  ( ) Storage saver                                    |
|      Slightly reduced quality to save cloud space.    |
+-------------------------------------------------------+
[Visual Guide 4: Google Photos backup quality selection]
Visual purpose: Show Google Photos settings displaying Original quality selected over Storage saver.
Caption: Select Original quality in Google Photos settings to ensure cloud downloads match your camera’s exact resolution.
iCloud Photos (iPhone to Windows / Mac)
-
On your iPhone, open Settings > Photos and verify iCloud Photos is toggled ON.
-
On your Mac or PC browser, navigate to
icloud.comand log in with your Apple ID. -
Click Photos, select your images, and click the Download icon (cloud with a down arrow) at the top right.
-
Important for Original Quality: Click and hold the download icon dropdown arrow and choose Unmodified Original to download the exact camera file without automatic conversions to JPEG.
Troubleshooting / Common Problems
My HEIC / HEIF Photos Won’t Open on Windows
Newer iPhones and some Android phones save photos in HEIC (High Efficiency Image Format) to save space. While HEIC maintains high quality, older Windows systems cannot open it natively.
-
Fix without losing quality: Download the official, free HEIF Image Extensions codec from the Microsoft Store onto your PC. Avoid using free online image conversion websites, as they often apply heavy compression during conversion.
Videos Look Blurry After Transferring
If transferred 4K videos look low-resolution when played back on your computer, you may be viewing an online streaming preview.
-
Fix: Ensure the video file has finished downloading completely to your computer’s local hard drive before playing it.
Phone Doesn’t Show Up in File Explorer
If your phone doesn’t appear when plugged into a computer:
-
Fix: Use a different USB cable (some budget cables only transfer power, not data). Ensure your phone screen is unlocked and verify you selected File Transfer from the USB notification drawer.
Practical Tips to Preserve Image Quality
-
Avoid Messaging Apps for Transfers: Never use WhatsApp, Telegram standard media attachments, or SMS to send photos to your computer. If you must use Telegram, send the photo as a Document attachment rather than a Media attachment to bypass compression filters.
-
Keep Camera Settings High: Ensure your camera app captures media in highest quality (Settings > Camera > Formats > High Efficiency / Most Compatible).
-
Organize by Folders: Create dedicated folders by year or event on your computer hard drive to keep raw camera backups organized over time.
Frequently Asked Questions
Does emailing photos to myself reduce their quality?
It depends on how you attach them. If you attach photos as regular file attachments, most email services keep original file quality as long as total attachment size remains under 25 MB. However, if your email app prompts you to resize or downsample large images before sending, quality will be lost.
Is USB transfer faster than cloud transfer for large photos?
Yes. USB 3.0 or USB-C cable transfers move data directly at hundreds of megabytes per second, making it much faster than uploading and downloading gigabytes of 4K video or RAW photos over standard home Wi-Fi networks.
What is the difference between JPEG and RAW photo files?
JPEG files are processed image files compressed by your phone’s camera software. RAW files capture uncompressed data directly from the camera sensor, providing maximum dynamic range for professional editing without quality loss.
Will transferring photos delete them from my phone?
No. Standard copy-and-paste or cloud downloads create duplicate copies on your computer. Your original files remain safely on your phone until you delete them manually.
Why do my iPhone photos change extension from .HEIC to .JPG when transferring?
iOS has a setting that automatically converts HEIC images to standard JPEG format when transferring to a PC to ensure compatibility. To stop automatic conversion, go to Settings > Photos on your iPhone, scroll to the bottom (Transfer to Mac or PC), and select Keep Originals.
Final Thoughts
Preserving the original quality of your photos doesn’t require complex software or technical expertise. By using direct USB cable transfers, native local tools like AirDrop and Quick Share, or configuring your cloud backups for full resolution, you can easily back up your library while retaining every detail of your original captures.
If you have a large library to move right now, plug your phone into your computer with a reliable data cable—it remains the fastest, most secure, and completely lossless transfer method available.